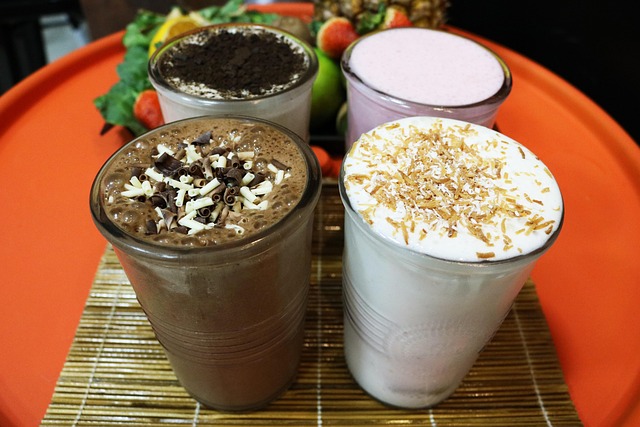
There’s something undeniably magical about a rich, creamy chocolate milkshake. Whether it’s a nostalgic reminder of childhood or a deliciously decadent treat on a summer afternoon, chocolate milkshakes are a timeless favorite. In this ultimate guide on how to make a chocolate milkshake, you’ll explore everything from essential ingredients and equipment to variations and presentation tips. Let’s blend up some chocolatey joy!
1. Chocolate Milkshakes
A Brief History of Milkshakes
Milkshakes date back to the late 19th century when they were first made as a wholesome drink with eggs and whiskey. By the 1920s, they had evolved into the creamy, ice cream-based delight we know today. Soda fountains in American diners made them a popular treat through the decades.
The Popularity of Chocolate Flavor
Chocolate reigns supreme in the world of milkshakes. Its universal appeal comes from its rich flavor, ability to pair well with other ingredients, and the comfort it brings. Whether you’re young or young at heart, a chocolate milkshake can lift your spirits instantly.
What You Will Learn
In this blog post, we will walk you through the complete process of how to make a chocolate milkshake, from choosing the right ingredients to customizing it for your tastes. By the end, you’ll be equipped to whip up milkshakes like a pro.
2. Essential Ingredients
Ice Cream: The Heart of Your Milkshake
The star of any chocolate milkshake is the ice cream.
- Vanilla Ice Cream: Provides a neutral base and allows the chocolate syrup to shine.
- Chocolate Ice Cream: For an extra chocolatey punch.
- Combination: Mix both for depth of flavor.
Milk: Balancing Texture and Flavor
Your choice of milk impacts creaminess and taste.
- Whole Milk: Rich and creamy, ideal for indulgent milkshakes.
- Skim Milk: Lighter, but less creamy.
- Milk Alternatives: Almond, oat, soy, and coconut milks offer unique flavors and cater to dietary needs.
Chocolate Syrup: The Flavor Maker
Chocolate syrup is where the main flavor comes from.
- Classic Brands: Hershey’s, Ghirardelli.
- Gourmet Options: Organic, artisan-crafted syrups with higher cocoa content.
- Homemade Syrup: Combine cocoa powder, sugar, water, and vanilla extract.
Optional Toppings
- Whipped Cream: Adds a light, airy touch.
- Chocolate Shavings: For extra texture.
- Sprinkles: Fun and colorful.
- Cherries: The classic finishing touch.
3. Selecting Your Equipment
Blender vs. Milkshake Maker
- Blender: Most accessible, powerful enough for smooth blending.
- Milkshake Maker: Specifically designed for milkshakes, creates a lighter texture.
Cups or Glasses
Serve in tall, clear glasses to showcase the creamy beauty.
- Mason Jars: Rustic and charming.
- Classic Soda Glasses: Vintage vibe.
Straws or Spoons
- Wide Straws: Great for thick shakes.
- Spoons: Necessary for ultra-thick versions.
4. Basic Chocolate Milkshake Recipe
Ingredients:
- 3 scoops of chocolate or vanilla ice cream
- 1/2 cup of milk (adjust to desired consistency)
- 1/4 cup chocolate syrup
- Optional toppings: whipped cream, chocolate chips, sprinkles
Instructions:
- Prep Ingredients: Ensure ice cream is slightly softened.
- Add to Blender: Scoop ice cream, pour in milk, and drizzle in chocolate syrup.
- Blend: Blend for 30-60 seconds on medium-high.
- Check Consistency: Add more milk for a thinner shake, more ice cream for thicker.
- Serve: Pour into a glass, add toppings, insert a straw, and enjoy!
Tips for Perfection
- Chill the glass for extra frosty fun.
- Use ice cream with higher fat content for richer results.
5. Variations on the Classic Recipe
Flavor Twists
- Peanut Butter: 1 tablespoon added during blending.
- Mint Extract: A few drops for a refreshing twist.
- Coffee or Espresso: Adds depth and richness.
Healthier Alternatives
- Frozen Yogurt: Less fat, tangy flavor.
- Bananas: Natural sweetness, creamy texture.
- Almond Milk: Fewer calories, nutty taste.
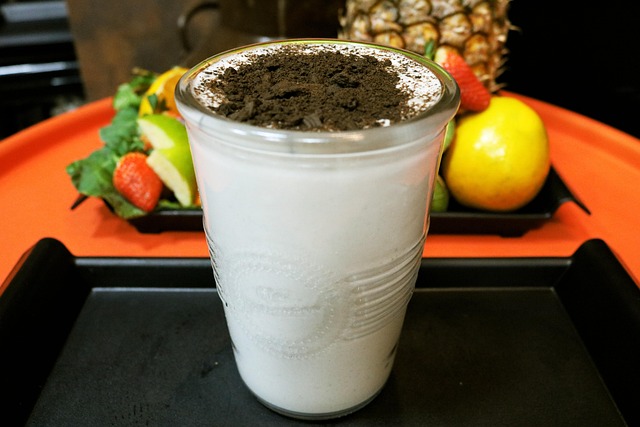
Fun Mix-Ins
- Crushed Cookies: Oreos, chocolate chip.
- Candy Pieces: M&M’s, Reese’s.
- Fruit: Strawberries, raspberries.
6. Making a Thick vs. Thin Milkshake
Adjusting Milk Quantity
- Thick Shakes: Less milk (1/4 cup).
- Thin Shakes: More milk (up to 3/4 cup).
Texture Tips
- Use frozen ingredients.
- Add ice cream slowly while blending.
- Blend in pulses rather than long stretches.
Catering to Preferences
- Some prefer drinkable milkshakes.
- Others want a spoonable dessert. Adjust accordingly!
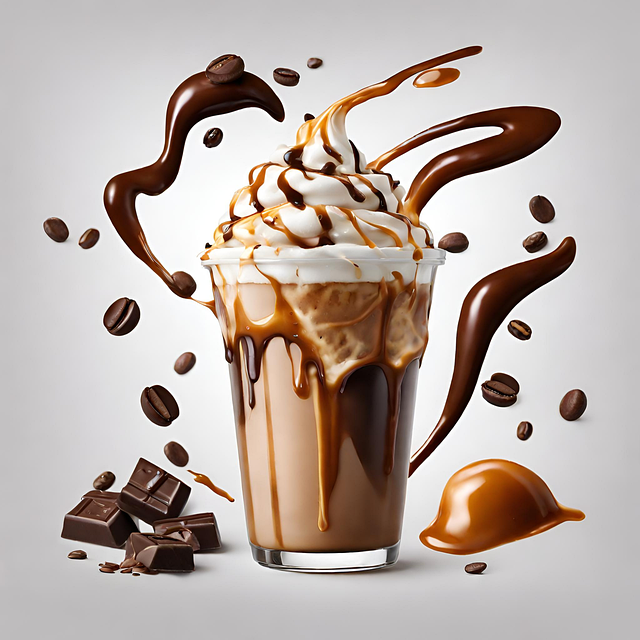
7. Creative Presentation Ideas
Decorative Glassware
Use funky or elegant glassware to elevate your presentation.
Garnishing Techniques
- Chocolate Drizzle: Swirl syrup inside the glass before pouring.
- Whipped Cream Designs: Use piping bags for style.
- Colorful Sprinkles: Seasonal or themed.
Instagram-Worthy Touches
- Add edible glitter.
- Use paper straws in matching colors.
- Top with mini donuts or cupcakes for extravagance.
8. Serving Suggestions
Dessert Pairings
- Cookies: Especially chocolate chip or oatmeal.
- Brownies: Fudgy and rich to match the shake.
- Cakes: Vanilla or red velvet contrast nicely.
Ideal Occasions
- Birthday Parties
- Movie Nights
- Sleepovers
- Hot Summer Days
Group Serving Tips
- Prepare ahead and store in the freezer.
- Use a chilled pitcher for larger servings.
- Offer a toppings bar for guests.
9. Troubleshooting Common Issues
Milkshake Too Thin?
- Add more ice cream or a scoop of frozen yogurt.
- Reduce milk and re-blend.
Ice Cream Not Blending?
- Let it soften slightly before blending.
- Use a high-powered blender.
Flavor Imbalances?
- Add a pinch of salt to enhance chocolate flavor.
- More syrup if it’s bland, more ice cream if too sweet.
10. Conclusion and Final Thoughts
Making the perfect chocolate milkshake is both an art and a joy. From selecting quality ingredients to adding your own creative spin, there’s a world of flavor possibilities. We hope this guide on how to make a chocolate milkshake has inspired you to dive into your blender and start experimenting.
Don’t be afraid to try new combinations, textures, or serving styles. Chocolate milkshakes are all about fun, indulgence, and sharing smiles.
Have your own favorite twist on the classic recipe? Share it with us and let’s keep the milkshake magic alive!